CT FileMaker Developer Group – MongoDB

1/18/2023 – This month, Oliver Reid will be giving his critically acclaimed “Low Cognitive Load” presentation of MongoDB. Its purpose is to provide an overview of how MongoDB works, which is informative while not diving too far into technical details. As always, please feel free to come with any topics that you would like to discuss or present.


CT FileMaker Developer Group – Linux Setup and Hosting Option Discussions

12/7/2022 – This month, we will be discussing how to set up a Linux Server for FileMaker and what options are out there for Cloud Hosting. As always, please feel free to come with any topics that you would like to discuss or present.


8 Simple FileMaker Tips and Tricks for Beginners

FileMaker is a “low-code” platform, which means it’s designed to be used by virtually anyone. It operates through a GUI, or graphic user interface, which is a fancy way of saying someone can use it through an actual piece of software as opposed to typing out lines of code.

Of course, experienced developers will be able to do considerably more with the platform. But for beginners, there are a handful of easy-to-execute tips and tricks.

  1. Know your shortcuts. While this isn’t crucial to getting the most out of FileMaker, it is helpful in terms of spending less time clicking through menus and dropdowns or hunting for the right window. Some of these shortcuts may be familiar if you’ve used similar programs. A full list of shortcuts can be found on the FileMaker website. Please note that these keyboard shortcuts are for Apple users. Windows users use “CTRL” instead of .
  • +Z will undo the last command
  • +SHIFT+F opens the find/replace dialogue box
  • +SHIFT+L opens the manage layouts box
  • and “up” or “down” arrows allows you to flip through pages
  • +SHIFT+D opens Database Manager
  • +SHIFT+S opens Script Workplace
  • +SHIFT+L opens Layout Mode
  • +SHIFT+B opens Browse Mode
  • +SHIFT+F opens Find Mode
  • TAB will allow you to move between windows. Speaking of which…
  1. Familiarize Yourself with Different Layouts. When choosing “Window” and then “New Window” from the dropdown menu, you can use different layouts that allow you to see multiple windows at once.
  1. Keep the List of Error Codes Handy. You can find Claris’s official list here. This is incredibly helpful in understanding why something isn’t working, and what can be done to fix it.
  1. Use Table View. This effectively zooms out to give you a look at all the information you’re working with. This is especially handy when you’re working with lots of complex data..
  1. Know How to Use Search Functions. Right-clicking a field and selecting “Find Matching Records” will give you all fields that match what’s selected. This can even work with highlighting a particular word, phrase or number within a field, allowing you to find all fields that contain that particular query. Right-clicking and selecting “Constrain Found Set” will allow you to search with additional parameters in another field. Simply put, you can search items that contain your first AND second search terms or values. 
  2. Utilize Rulers, Guides, and Grids for Formatting. These tools allow you to design more accurately and make more granular tweaks to your layout. Rulers will show you the exact size of a particular layout, in points, inches, or centimeters. Guides will overlay a series of blue lines on the layout, allowing you to line up various elements. Grids places a layout of 1/10th inch boxes over the layout, for spacing accuracy. Together, these tools can save time and effort and give you the perfect layout.
  1. Change Your Theme. Choosing “Change Theme” from the Layout menu allows you to make a variety of changes, from sweeping alterations to the overall color palette, down to granular tweaks in font. This includes things like changing how text boxes react to inputs and adding a highlight when hovering over clickable objects. While you may not want (or need) to tweak everything available, the level of customization users have over the interface means you can really make it your own.
  1. Create Your Own Keyboard Shortcuts. You may find yourself needing to access different aspects of FileMaker often, at least compared to the default keyboard shortcuts mentioned above. Selecting “Specify” will allow you to use your own key combinations to perform commands. Note that this can even override existing commands.

Knowing the above should help make creating FileMaker databases easier for beginners. But the best way to get the most out of FileMaker is to have a team of experts at the helm. To really learn what FileMaker can do for your business, contact Kyo Logic today.

HIPAA and Claris FileMaker

The Health Insurance Portability and Accountability Act (HIPAA) was a bill signed by Congress in 1996 that required the Health and Human Services (HHS) to create a set of regulations ensuring the privacy and security of electronic protected health information (e-PHI). As a result, HHS published its privacy and security standards in the HIPAA Privacy Rule and the HIPAA Security Rule. It is required that all applications that acquire and store any protected health information of individuals be compliant with the HIPAA Privacy and Security Rules. 

Claris FileMaker, with security measures and customization built into the platform, make it a uniquely perfect platform to build and create HIPAA compliant applications. Here are the reasons why:

Encryption-At-Rest

With FileMaker, you can turn on Encryption-at-Rest for the entire database that utilizes FileMaker’s Developer Utilities. By turning on Encryption-at-Rest, the application is given a security key (we recommend this be a strong, randomly generated password) that must be entered every time the application is opened. This ensures that even if the database does fall in the wrong hands, they will not be able to open the database or access any data inside of it without the encryption key.

Encrypted Container Documents

When creating container document fields in FileMaker, the developer has the option to store the documents inside of the database; externally secured or externally open. There are many performance-related reasons to store documents externally, so having both the option to store the documents externally and secured gives you the best of both worlds. The data can only be opened from within the database and will allow you to avoid any database performance issues.

Individualized Accounts and Privilege Sets

Within the database, the administrator has the ability to set up unique accounts and privilege sets for each individual accessing the database. This allows the administrator to quickly and easily add, remove, enable, disable, and adjust each user’s account in the database. Through the use of privilege sets, the administrator can limit each user’s access to different sections or segments of data. The administrator can assign some users to accounts that have access to ePHI data while assigning others to accounts with limited or no access.

Scripting within the Database

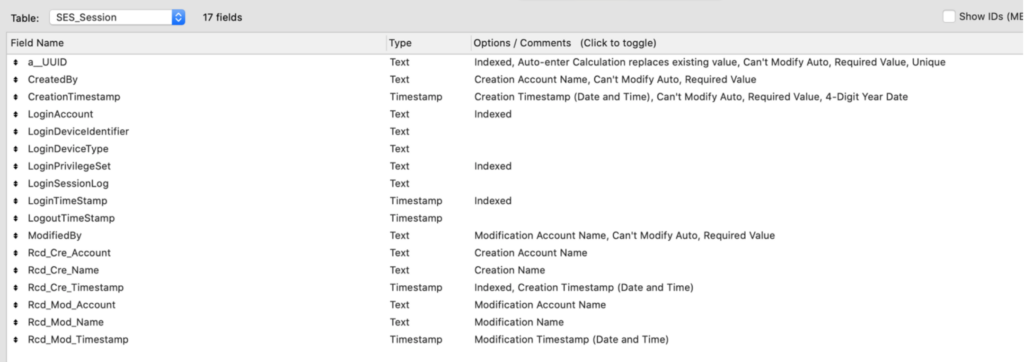
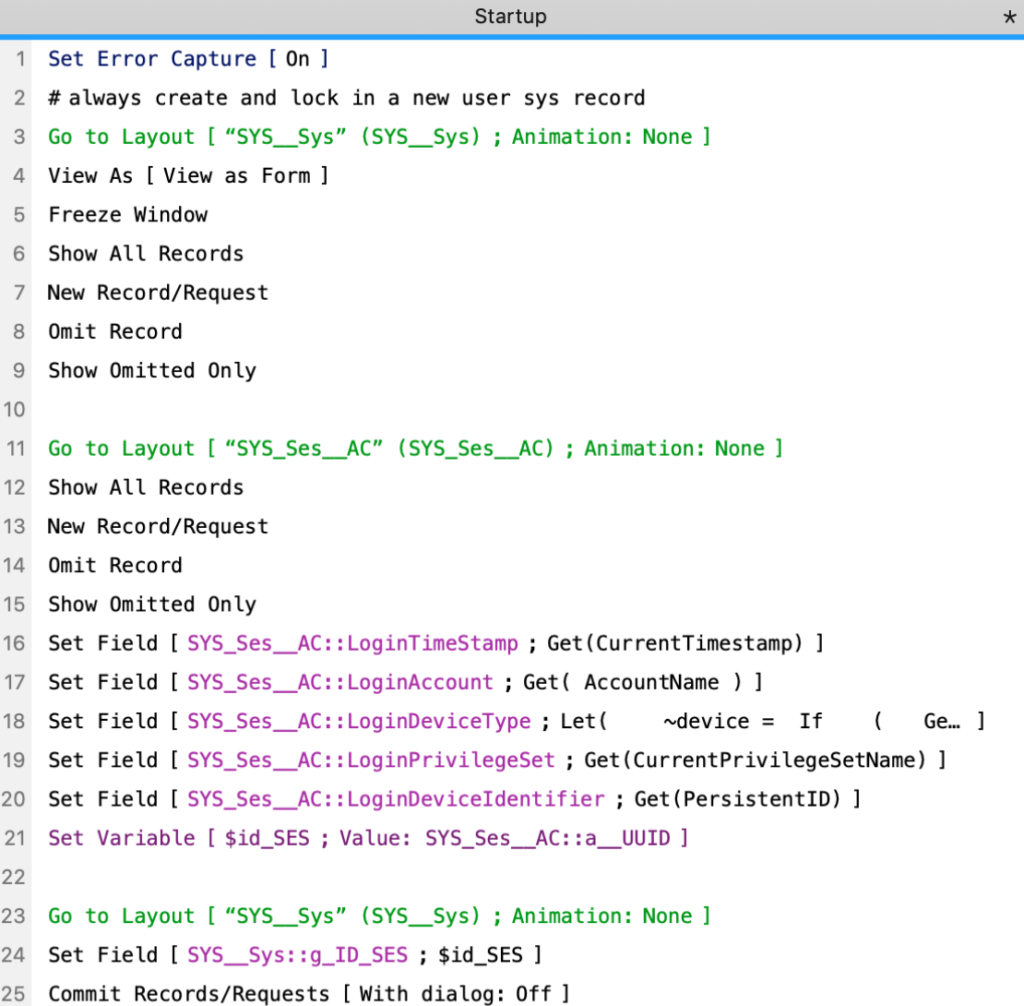
Because of the customizability of FileMaker, developers can give each user and/or privilege set a unique user experience through scripting. You can allow only authorized users to navigate to certain layouts in the database and view HIPAA compliant data for an individual. Through scripting, you can also create user session access and action auditing reports, both of which are required by the HIPAA Security Rule.

At Kyo Logic, we believe in developing and maintaining HIPAA compliant applications by successfully using FileMaker as a terrific platform for our clientele. If you are in need of support in building and maintaining a HIPAA compliant application and would like to learn more about what it takes to make a HIPAA compliant FileMaker database, please contact us.

FileMaker Tips: 6 Techniques for a Better UX

As FileMaker developers we pride ourselves with our ability to perform amazing feats of behind-the-scenes scripting and calculation dexterity. But, sometimes we forget that functionality is only half of a good design. The other half is what the user sees and interacts with. This half is the UI/UX.

For this discussion, let’s define the user interface (UI) as the workspace that contains objects (as well as their themes and styles) for data viewing and manipulation. These objects encompass everything from edit boxes to drop-down lists to tab controls, button bars, portals, web viewers, and so on.

The user experience (UX) is defined as how a user interacts with the UI. Foremost of UX is workflow, which is how a user moves from one object to the next in a logical fashion. UX also includes the layout’s “intuitiveness”, which is how easy (or not-so-easy) it is for a user to understand what they can do, where they can click, and what they can edit.

A good UX makes a user’s job easier. It reduces the learning curve of your app which reduces training time. It also increases “buy-in” from users. If they like what they see (UI) and feel comfortable using your app (UX), it increases its value to your client.

Let’s take a look at a few tips to enhance that comfort level. Below are six tips to consider when designing a good UX:

Workflow:

Never leave your user stranded.

When a user opens an additional window such as a report window or navigates to another layout to perform a task, always make sure to build obvious navigation tools so that your user can get back to where they started.  Leaving a user stranded on a dead-end layout can be confusing and frustrating. A user needs to feel at ease to explore areas of the app while always feeling comfortable that they can go back to start over.

Good workflow includes circular navigation, not linear. Linear navigation brings a user down a singular narrow path from one layout to the next but often leaves them stranded at a dead-end.

Circular navigation incorporates buttons to circle back to a previous step or go all the way back to the beginning to a dashboard or main menu to start over. It also allows a user to go forward to the next logical step, or branch off to a different section of the app.

Design the workflow of layouts to “read” from top to bottom, left to right. 

Place data that the user needs to know first in the upper left area of a layout. 

For example, on a form/detail layout of a “people” record, knowing the name of the person is most often the first thing a user needs to know. So, place the name fields in the upper left area so that the user “reads” that data first.

The additional data fields should flow in a cohesive way so that the user doesn’t have to jump their eyes around the screen to gather the next logical piece of the puzzle.

In action areas, place action buttons in the lower right or centered across the bottom.

Keeping with the concept of “top-to-bottom, left-to-right”; in dialog windows, card windows, popovers, tab panels, and slide panels it is best practice to place the action buttons in the lower right or center bottom of the action area. 

Clicking an action button such as “Okay”, “Cancel”, or “Save” is usually the last step your user will take when in an action area. Your user’s eyes will flow from top-to-bottom. So, their eyes will be positioned to see the action buttons when they need them. Placing the action buttons elsewhere forces the user to hunt around for the buttons.

Intuitiveness:

Use tooltips. 

Always add a tooltip to a button that is an icon only, one without text. Icons can be interpreted different ways by different users – and developers. Many users are afraid of clicking blindly in fear of breaking something. To help users feel more comfortable clicking a button, add a tooltip to buttons, especially icon-only buttons, to make sure your user knows what a given button will do.

Add the Self tooltip to long text fields. Fields that can hold long strings of text sometimes get cutoff. A simple help is to use the Self function as the tooltip calculation. Then when a user hovers their mouse over the field the entire field contents is displayed for a few seconds. This allows a user to know there is more data to read.

In addition, using the calculation box for tooltips allows us to provide extra data that may be pertinent to a field but does not need to take up real estate on the layout. For example, hovering over a person’s name in a list view layout could display a tooltip that provides that person’s title, rank, phone number, or other additional info from other fields.

Disable Browse Mode access on calculation and summary fields

 Users new to your app can get confused and distracted from their task when they click into a calculation field and attempt to edit data. FileMaker will provide a dialog box with a message saying the field is not modifiable. This can cause them confusion as to what they are supposed to do next and derail their task at hand, slowing down their work.

Since a user cannot edit data in a calculation or summary field, why allow a user to click into the field to begin with? In the Inspector (on the Data tab, Behavior section) simply uncheck Browse Mode for field entry. When a user clicks on the field nothing will happen. They will immediately learn that field does not need to be edited without a scary distracting error message.

Add Close buttons to all Popovers and Card Windows.

Many users can get stuck after opening a popover because they do not know how to close it. They do not know that simply clicking outside the popover will close it, it is not intuitive.

Always add a simply close button – with a tooltip – in the header/title area of popovers. A single script step of Close Popover will do the trick (use the Close Window (current) script step for card windows). This makes the popover more user-friendly because it is easier to understand what the user needs to do. 

Building a close button only takes a minute or two and can then be copied and pasted into every popover to maintain a consistent look and function.

Consistency adds to intuitiveness since after learning it on one layout, users will more easily recognize the same functionality on other layouts.

Conclusion

These simply techniques help put a professional polish on your app. They can improve your user’s experience which in turn helps them do their job more comfortably and more efficiently.

Secure Your FileMaker Database with Encryption at Rest

Claris’ FileMaker platform offers a number of great avenues for keeping your data secured. One of these avenues is to secure the database itself using Encryption At Rest. To be as un-technical as possible, this keeps your data in an unreadable form that can only be opened with a secure key. So, if the database is stolen, the thief would have no way of opening and reading or extracting your data without also have your secure key.

We recommend encrypting ALL FileMaker databases with sensitive data.

How to encrypt a database?

The first step is to get the database onto a local computer. If the database is currently hosted using FileMaker Server, it must be closed and then removed from the server. You will then Open the Developer Utilities. (If you do not see Developer Utilities, it means that you do not have advanced tools turned on. There is a checkbox in FileMaker Preferences to turn this on)

You will select the file you want to encrypt, what folder you would like the encrypted file to be saved to and then select Solution Options.

Here, you will select Enable Database Encryption, enter a shared ID (or just leave the default one), specify one of the database’s Full Access FileMaker accounts and then enter your encryption key. (Make sure to keep the key on file. Once a database is encrypted, the ONLY way it can be opened is by entering that key). You can then choose whether or not to keep Open Storage, which relates to FileMaker’s container data. There are some situations where you may want to keep the container data open even though the database is closed. This should be determined on a case-by-case basis.

Alright! You now have an encrypted file. You will notice when you try to open it, it first asks for the encryption key before it asks for your username and password.

How does it work with FileMaker Server?

Now, you will upload the database back to your server. When you do so, you will see this alert:

When you open up your admin console, you will notice that the file is indeed closed.

You can open the file through the admin console, and when entering the encryption key select “Save Password” or through the command line as shown below.

By saving the password, when you close and open the database, it will open the database without asking for your encryption key.

How does the new FileMaker Server 19.1.2 Update Relate to this?

With the new FileMaker Server 19.1.2 release, you can now run two new system-wide scripts automatically through FileMaker Server’s script schedule.

The first script, SYS_Default_PurgeTempDB, clears the temporary cache of the server. If your server is not restarted often, this temporary cache can become quite large and affect the performance of the server. Now with this script, it can be cleared weekly, daily, or even hourly if needed.

The second script, SYS_Default_VefiryAllDB, will verify all databases on the server to confirm that none are corrupted. During the process, the server will close each file, run the verification, and then open the file back up. The server, however, can only open an encrypted file if its key is saved to the server using the command line script. Because we want this schedule to be run automatically, it is necessary for the encryption key to be saved to the server in order to run this script.

The Power of the Pomodoro – Time Management in the COVID World

The world we live and work in has changed drastically over the past few months, since COVID-19 entered our lives. It has been the biggest change that most of us have ever gone through. While this change has affected us in every aspect, from traveling, to socializing, to going to the grocery store, it has affected us equally in the workplace.

For the first time ever, it is now the rule as opposed to the exception to work from home. Thousands of companies are transitioning to full time remote workforces and this trend will not go away even if COVID-19 does. While it is certainly comfortable and easy to roll out of bed and start working, it is natural to lose focus more easily than when you were in the office.

If your new virtual work life has made it focusing on your work difficult, know that you are not alone and that we have a technique just for you. This is a technique that we at Kyo Logic have adopted for years and have found brings great results to our team, allowing our developers to focus on the task at hand even when all of the distractions in the world circulate around them.

The technique we use is called the Pomodoro, named after a tomato-shaped timer that the original inventor of the technique, Francesco Cirillo, used. 

The technique is pretty simple. You spend 25 minutes working on a task and then take a 5 minute break, making each Pomodoro 30 minutes. Now, there are no rules saying you have to do Pomodoros in 30 minute intervals. At Kyo Logic, we have modified our Pomodoros to be 60 minutes with 50 minutes working and a 10 minute break.

The reason why the Pomodoro is a powerful tool is because of two key factors: 

1. It breaks up your day into multiple smaller periods, allowing you to focus each period on a single task. Everybody has been there on a day where you have more on your plate than you can possibly accomplish. It’s petrifying and can get overwhelming. We have seen that a side effect of having too much on your plate is that you spread your focus around to too many tasks, ultimately completing none of them. If you start your day by scheduling out your Pomodoros, you can know that as long as you follow the plan, you will get to everything you need. No need to worry!

2. It includes short, frequent breaks, which allow you to clear your mind, handle the items that would normally distract you from your focus and get yourself ready for the next task. This part of the Pomodoro is really what makes it special, especially in the virtual workplace. One of the biggest struggles that I and most of my team members have is transitioning focus from one task to the next. With the Pomodoro, focus transitioning is a built-in feature.

So, are you ready to take on your new virtual workplace one Pomodoro at a time? To help make this a reality, please download our free Pomodoro Timer below.

Download Pomodoro Time File

Please complete this form to download the FREE file.

Name(Required)
This field is for validation purposes and should be left unchanged.

Kyo Logic eSignature Add-on – How to turn a Database Feature into an Add-on

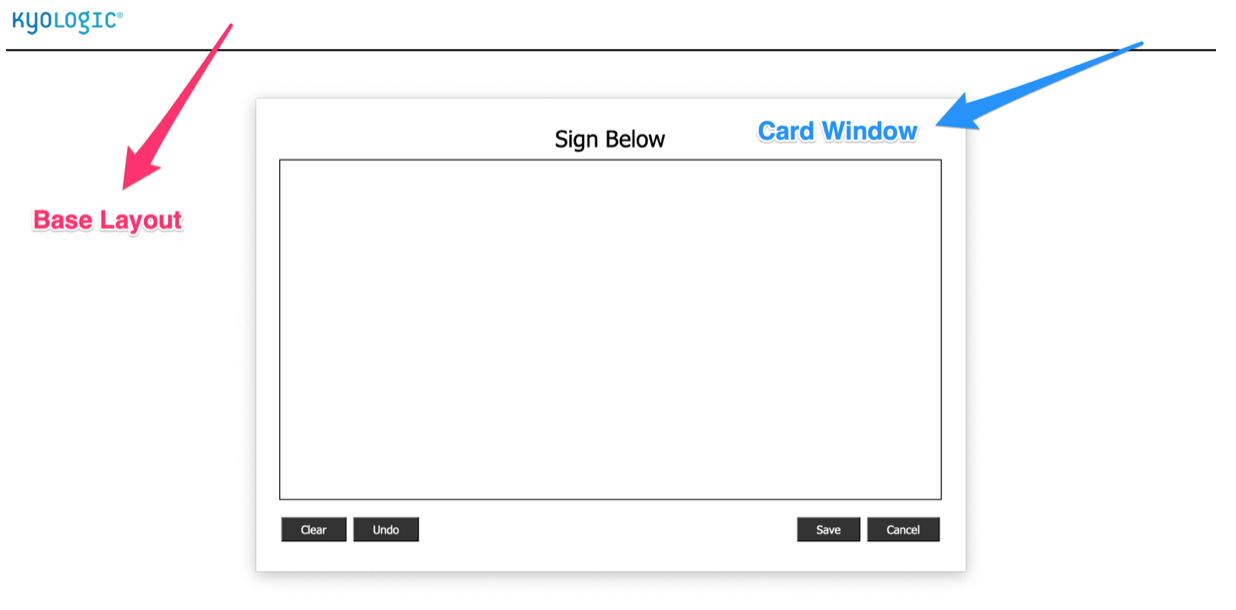
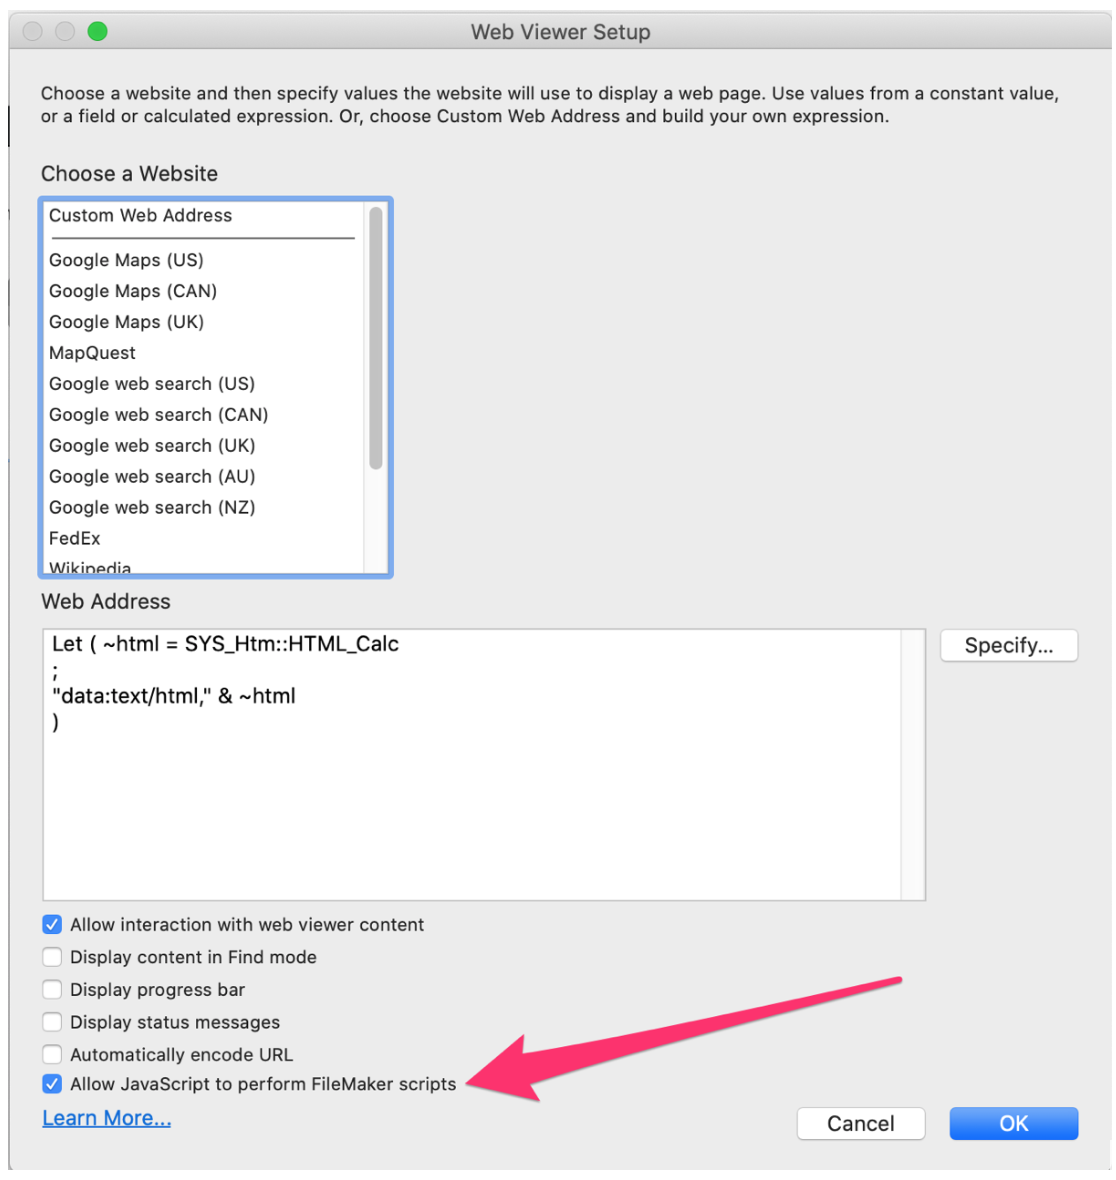
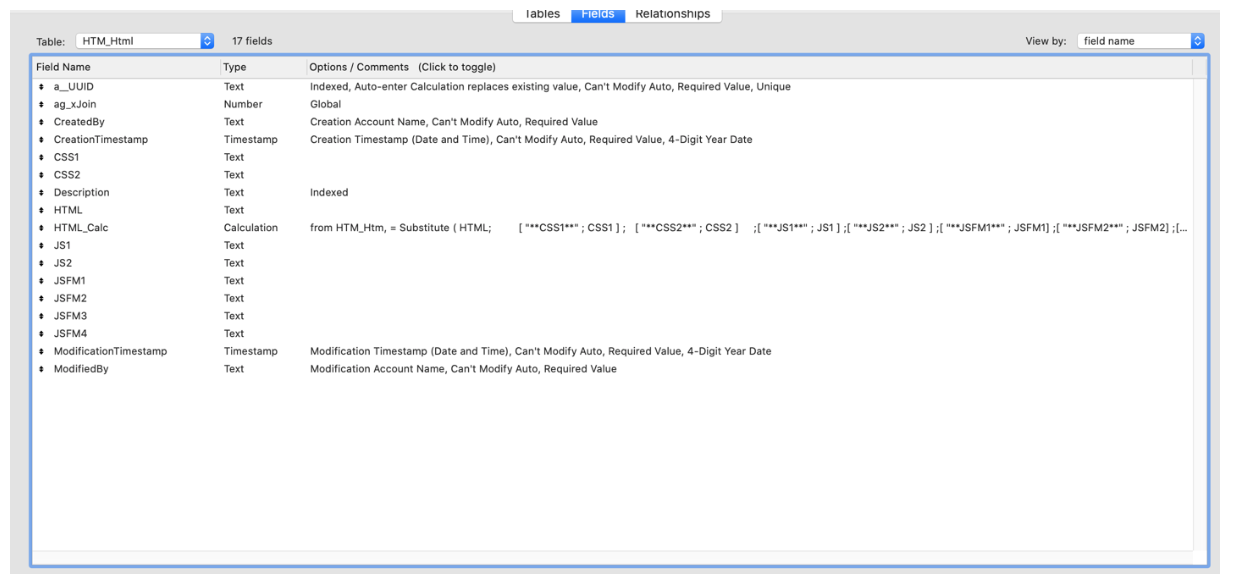
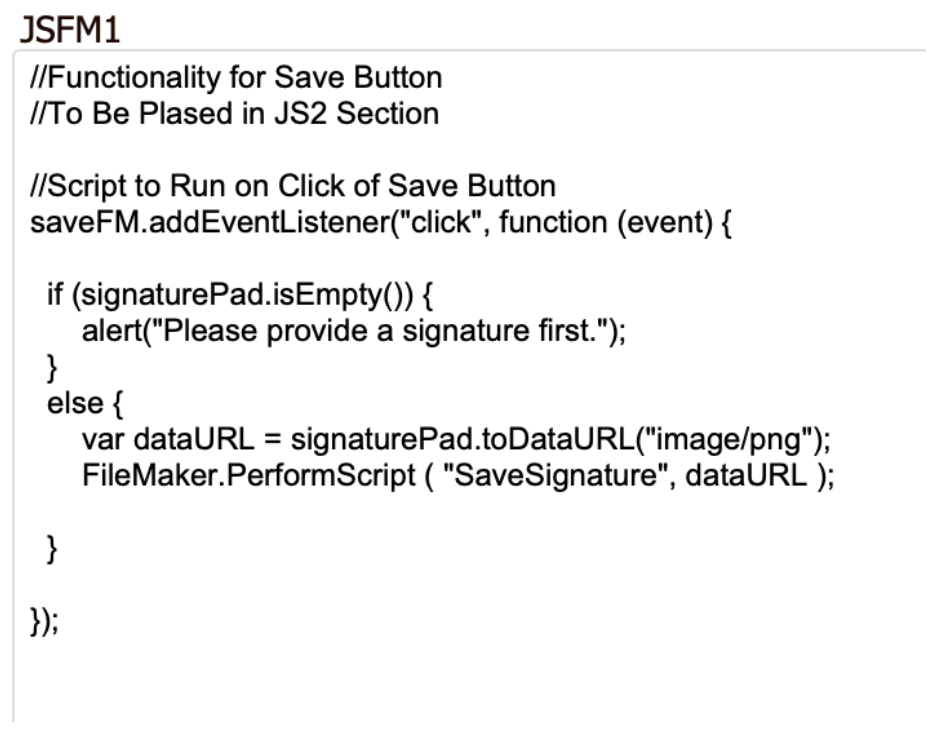
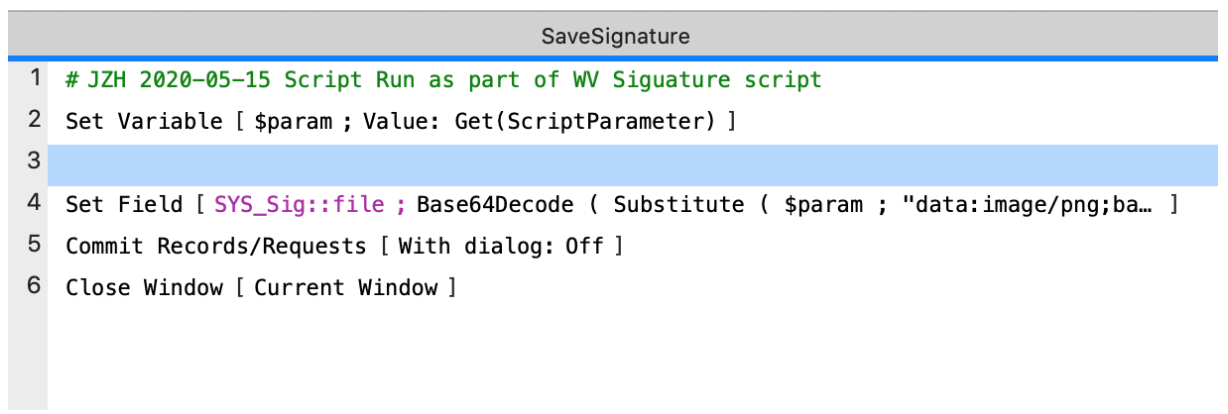
With the recent release of Claris’ FileMaker 19, Claris introduced a new tool called an Add-on, which allows you to drag and drop a ready-built feature into your database at the drop of a hat. Watch the video below to learn how to take an existing feature in a database and turn it into an Add-on. We will be using our eSignature Application as a base, so feel free to download that file and follow along.


Download eSignature Add-on

Please complete this form to download the FREE file.

Name(Required)
This field is for validation purposes and should be left unchanged.